How We Made the Best Sourdough Starter From Scratch Without Any Fuss
Ever tried making sourdough bread and it flopped because your starter never took off?
Yeah, us too. It’s one of those things that looks simple… until it’s not.
You mix flour and water, wait, and somehow… nothing. Or it smells weird. Or it bubbles once and then goes silent.
That’s where people give up.
But don’t! It’s not you – it’s the internet.
Most guides leave out just enough to make you fail.
So, we fixed that. This guide has everything. No fluff. No guesswork.
Just a foolproof way to grow your own lively, happy sourdough starter.
You’ll feed it, watch it come alive, and be baking real bread in about a week.
What Is a Sourdough Starter?

It’s alive.
Seriously.
A sourdough starter is a mix of flour and water that captures wild yeast and bacteria from your kitchen.
After a few days, it becomes bubbly and sour – ready to raise bread without store-bought yeast.
The cool part? Once you’ve got it going, you never have to buy yeast again. Bakers keep these going for years. Some are older than people.
If you’re into old-school baking traditions, you’ll probably love our Italian focaccia recipe – a naturally leavened bread with a golden crust and pillowy texture.
Why Make Your Own Starter?
First, you don’t need anything fancy. Second, it makes better bread. Starters from scratch are unique to your home, and the flavor gets deeper over time. Also? It’s just kinda fun. Watching it bubble and grow is weirdly satisfying.
And let’s be real – bragging that you “keep a living culture” in your fridge never gets old.
If scratch-made appeals to you, try pairing your starter journey with this roasted butternut squash quinoa salad – it’s wholesome, homemade, and big on flavor.
Ingredients You’ll Need

We keep it simple, but each choice matters. Here’s what goes in and why.
Whole Wheat Flour (Day 1 only)
Full of nutrients and wild yeast. Helps your starter get moving fast.
Pineapple Juice (Day 1 only, original twist)
This is the secret move. It gives the starter a pH kickstart. Helps good bacteria win the early battle.
Unbleached All-Purpose Flour (Days 2–10)
Balanced and clean. Keeps your starter consistent. Bleached flour is dead weight – skip it.
Filtered Room-Temp Water
Chlorine in tap water can stall yeast growth. Let tap water sit out overnight if needed.
Equipment Checklist
You probably already have this stuff:
1. A clean glass jar (1-quart size works)

2. Kitchen scale (worth it, seriously)

3. Spoon or small spatula
4. Tea towel or coffee filter for the lid
5. A rubber band to mark how much it grows
Need a solid cutting board while you mix and knead? Here’s our pick: the Sonder End Grain Walnut Cutting Board, loved for its durability and beauty in home kitchens.
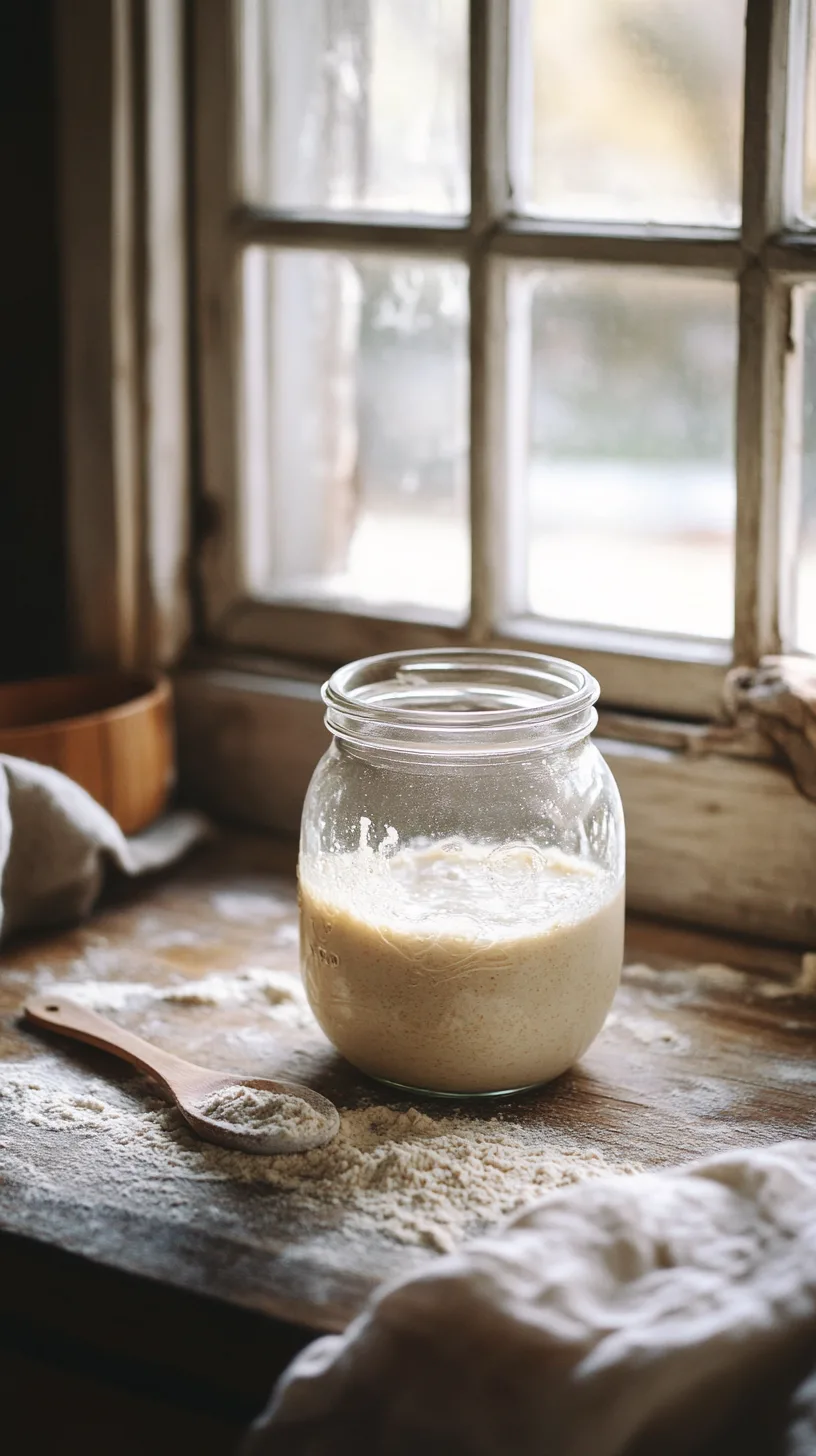
Step-by-Step Guide to Making a Sourdough Starter
Day 1: Mix and Wait
In a glass jar, stir together:
50g whole wheat flour + 25g pineapple juice
Cover loosely and let it sit at room temp for 24 hours.
You might not see bubbles yet. That’s fine.
Day 2: First Real Feeding
Add 50g all-purpose flour + 50g water. Stir and cover. Rest for 24 hours.
Day 3: Discard and Feed
Scoop out and toss half the jar (or use it in pancakes). Add 50g flour + 50g water to the rest. Stir and wait.
Days 4–10: Keep Going
Repeat the discard and feed routine once a day. You’ll see:
- Small bubbles first
- Then a sour smell
- Eventually, it doubles in size within 4 to 6 hours
Once that happens, you’re there. It’s ready.
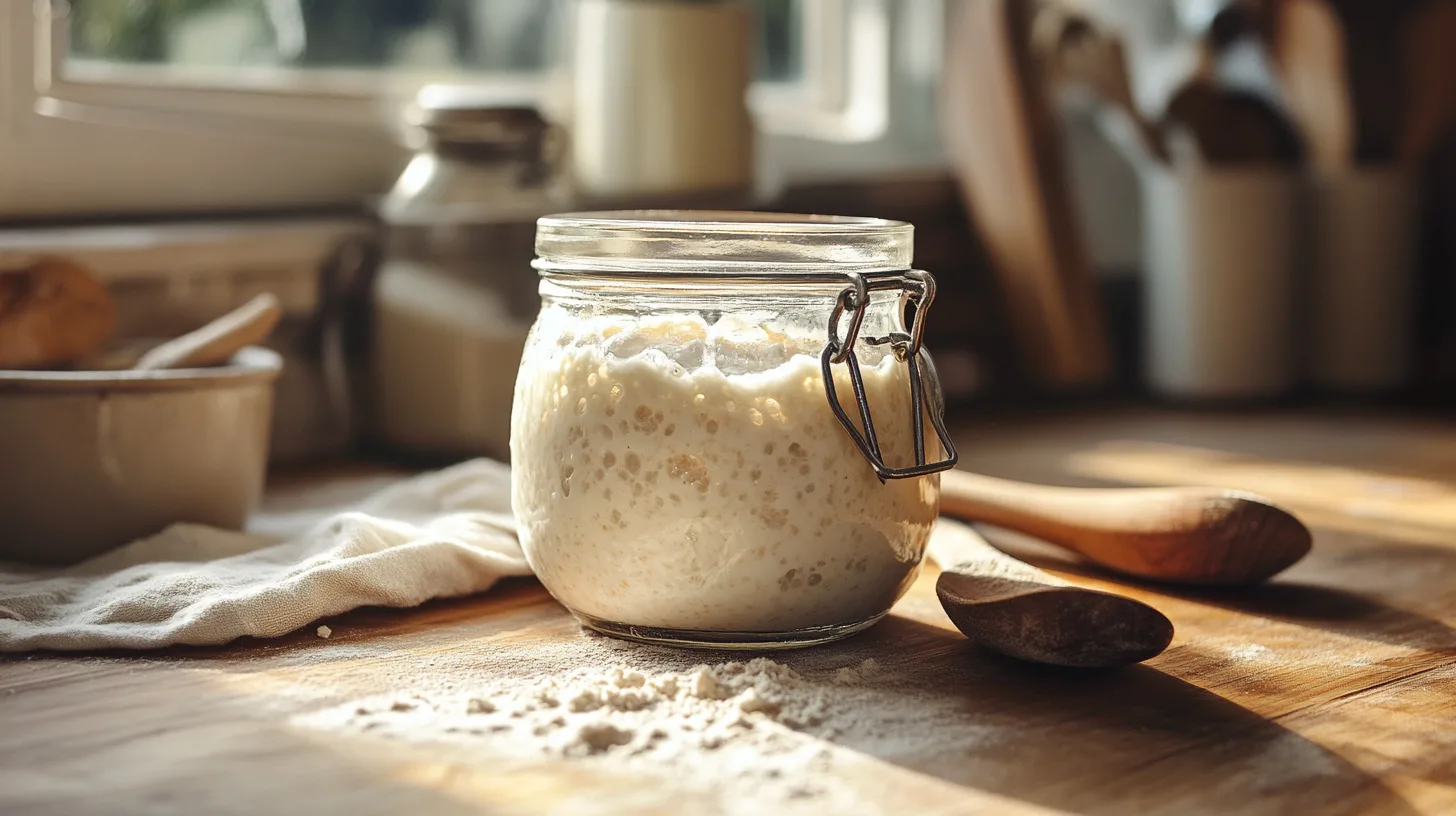
Signs of a Healthy Starter
Not sure if it’s alive? Here’s how you know:
- It doubles after feeding
- It smells pleasantly sour, like yogurt or apples
- It’s full of small bubbles, not flat or watery
- It passes the float test (drop a spoonful in water – it should float)
How to Use Your Starter in Baking
Once it’s bubbly and strong, sub it into any sourdough recipe. Usually, recipes will call for 100g of active starter.
Feed it in the morning, bake in the evening.
Tip: Always keep at least 50g behind so you don’t lose your culture.
When you’re ready to bake with your new starter, consider trying this neapolitan pizza dough – stretchy, bubbly, and perfect for sourdough lovers.
Feeding Schedule and Storage
Baking often? Keep it at room temp and feed every day.
Baking once a week? Store it in the fridge and feed weekly.
To wake it up from the fridge:
Let it sit out, feed it twice (12 hours apart), and it should be ready.
Ingredient Substitutes
- No pineapple juice? Use orange juice or apple cider vinegar + water (50/50).
- No whole wheat? Rye flour works great too.
- No scale? 1/4 cup flour + 3 tablespoons water = roughly 50g. Still, scales make it easier.
Nutritional Info (per tablespoon of starter)
- Calories: 30
- Protein: 1g
- Carbs: 6g
- Fat: 0g
- Fiber: 1g
- Sodium: 0mg
(This varies a bit depending on flour type and hydration.)
FAQs About How to Make a Sourdough Starter
It might just need more time, warmth, or better water. Give it a few more days and check the room temp.
Nope. If you see pink, green, or black fuzz – toss it and start over.
It keeps the balance of yeast and bacteria in check. Skipping it can make things sluggish.
Not recommended. Bleaching kills off good microbes that help your starter thrive.
Feed it less often or store it in the fridge for longer periods between feedings.
Yes! Pancakes, waffles, crackers, muffins – you name it.
Years. Maybe decades. Just keep feeding it and it’ll keep giving back.
How To Make Sour Dough Starter From Scratch
Print
How to Make a Sourdough Starter from Scratch
- Prep Time: 10 minutes daily
- Fermentation Time:: 5 to 10 days
- Cook Time: Up to 10 days
- Total Time: 0 hours
- Yield: Makes about 1 cup of starter 1x
- Category: Bread, Basics
- Method: Fermentation
- Cuisine: American
Description
This step-by-step guide will teach you how to make a sourdough starter at home using just flour and water. It’s a simple, natural process that builds flavor and texture into your future loaves of bread. We’ve added a small twist to the standard method—a touch of pineapple juice on day one—to give your starter a stronger beginning and help prevent early spoilage.
Equipment:
-
Digital kitchen scale
-
1-quart glass jar or clear container
-
Spoon or small spatula
-
Breathable cover (coffee filter, tea towel, or loose lid)
-
Rubber band or masking tape to mark growth
Ingredients
- 50 grams whole wheat flour (for day 1)
- 25 grams pineapple juice (room temperature, for day 1 only)
- 475 grams unbleached all-purpose flour (for days 2-10)
- 500 grams filtered room-temperature water (for days 2-10)
Instructions
- Day 1: Get It Started
In a clean glass jar, mix 50g whole wheat flour with 25g pineapple juice. Stir until no dry spots remain. Cover the jar loosely with a towel or coffee filter and let it sit at room temperature (around 70°F or 21°C) for 24 hours. This gentle acidity from the juice helps support healthy yeast and discourages bad bacteria. - Day 2: First Feeding
You might not see much change yet. Add 50g unbleached all-purpose flour and 50g filtered water to the mixture. Stir well, scrape down the sides, and cover again. Let it rest another 24 hours. - Day 3: Discard and Feed
Discard about half of your starter (roughly 100g). To the remaining mixture, add 50g flour and 50g water. Mix thoroughly and cover. - Days 4 to 10: Build Strength
Continue the same discard and feed process once a day. Each time, remove half and feed with 50g flour and 50g water. Around day 5 or 6, bubbles should be forming and the mixture should start to rise and fall between feedings. The smell should become pleasantly tangy. - When It’s Ready:
Your starter is active and ready for baking when it reliably doubles in size within 4 to 6 hours of feeding, has a light sour aroma, and forms bubbles throughout. This usually happens between days 7 and 10. - Storing the Starter:
If baking regularly, keep it at room temperature and feed daily. For occasional use, store it in the fridge and feed once a week. Before baking, bring it to room temperature and give it two feedings to reactivate.
Notes
Most traditional starter recipes use only flour and water, but the addition of pineapple juice on the first day helps lower the pH quickly. This makes it harder for undesirable bacteria to survive in the early stages and gives beneficial yeast and lactobacillus a better head start. It’s a trick used by some professional bakers to ensure more consistent results.
Nutrition
- Serving Size: 1 Tablespoon
- Calories: 30 kcal
- Sodium: 0mg
- Fat: 0g
- Carbohydrates: 6g
- Fiber: 1g
- Protein: 1g
The Final Bite
Making your own sourdough starter is more than just flour and water – it’s a little patience, a little practice, and a lot of payoff. Once it’s bubbling and active, you’re not just baking – you’re feeding something alive. And that feels good.
If you liked this guide and want more simple, no-fluff recipes from someone who actually cooks for a living, sign up for the Simply Delicious Newsletter by Edible Exposure Media. I’m Ryan Yates – an executive chef with 20 years in the kitchen – and I write every issue to make cooking at home feel doable and fun again.
See you there.
About the Author
Ryan Yates is a culinary expert with over 20 years of experience in commercial kitchens. As a working executive chef, he has a passion for creating delicious, accessible recipes that bring joy to home cooks everywhere. Ryan believes in the magic of simple ingredients and loves sharing his knowledge to help others find happiness in cooking.