The Ultimate Guide to Perfect Hard-Boiled Eggs With Classic Techniques and Innovative Twists
Ever wondered why something as simple as boiling an egg can be so tricky? You’re not alone. From ancient Rome to your kitchen, the quest for the perfect hard boiled egg method has been a culinary journey spanning centuries.
But fear not, egg enthusiasts! We’re about to crack the code on this timeless challenge, blending time-tested methods with cutting-edge innovations.
- Why Nailing the Perfect Hard-Boiled Egg Matters
- The Science Behind the Shell
- Prep Like a Pro
- The Classic Method: Tried and True
- Timing is Everything
- The Ice Bath: More Than Just a Cool Down
- Cutting-Edge Egg Innovations: Shake Things Up!
- Eco-Friendly Egg Hacks
- The Nutritional Goldmine: Maximizing Egg Benefits
- Peel Like a Pro
- Store Smart, Eat Fresh
Why Nailing the Perfect Hard-Boiled Egg Matters

Let’s face it: a rubbery white or a green-tinged yolk can turn your egg-citement into disappointment faster than you can say “overcooked.”
But when you get it right? Oh boy, it’s like hitting the culinary jackpot.
We’re talking creamy yolks, tender whites, and shells that practically slip off.
It’s not just about taste, though. Perfectly cooked eggs retain more of those good-for-you nutrients that make them a powerhouse of health.
The Science Behind the Shell
Cooking an egg is like conducting a tiny science experiment in your pot.
Heat causes the proteins in the egg to change, creating that magical transformation from raw to cooked.
But push it too far, and you’ll end up with a texture that’s more bouncy ball than breakfast.
The key? Finding that sweet spot where the proteins are just right – firm but not rubbery.
Prep Like a Pro
Before you even think about boiling, let’s talk prep:
- Age matters: Slightly older eggs (about 1-2 weeks old) are your friends here. They peel easier, saving you from the frustration of egg whites that cling to the shell like their life depends on it.
- Flip ’em: Store your eggs upside down. It might sound odd, but it helps center the yolks, giving you picture-perfect eggs every time.
- Cold start: Always start with cold water. It’s like easing into a pool instead of cannon-balling – gentler on the eggs and reduces the chance of cracking.
- Secret ingredients: A pinch of salt or a splash of vinegar in the water can work wonders. They help strengthen the shell and make peeling a breeze.
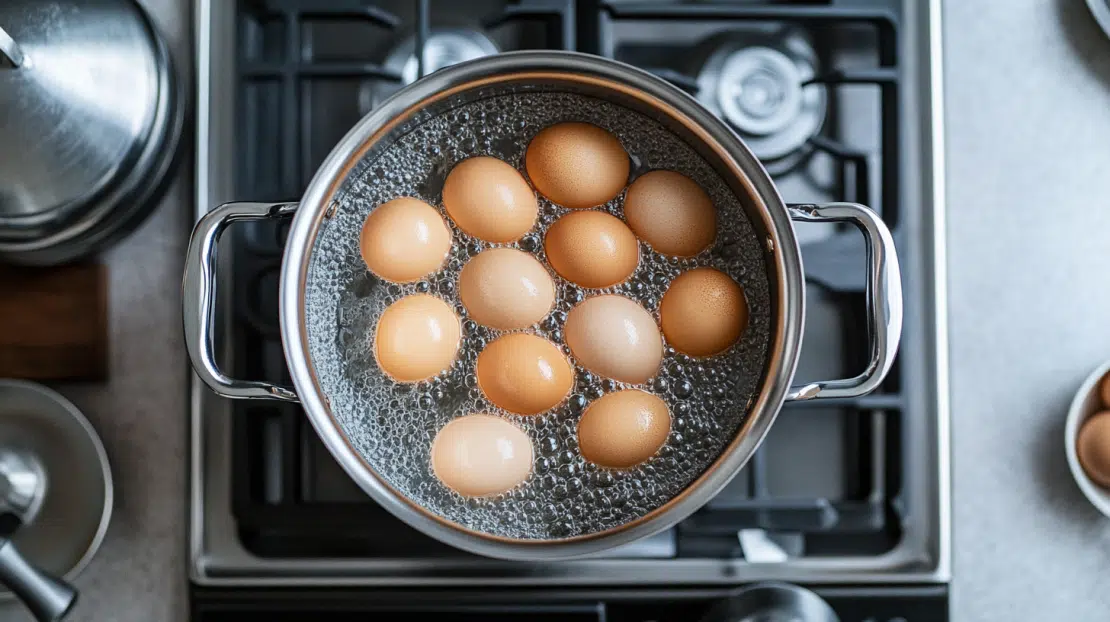
The Classic Method: Tried and True
Ready to boil? Here’s your foolproof method:
- Place eggs in a single layer at the bottom of your pot.
- Cover with cold water, about an inch above the eggs.
- Bring to a rolling boil over high heat.
- Once boiling, remove from heat, cover, and let sit for 9-12 minutes (depending on how you like your yolks).
- Meanwhile, prepare an ice bath – your eggs’ ticket to perfect doneness.
- After their hot tub time, plunge the eggs into the ice bath for 14 minutes.
Timing is Everything
How long you let those eggs sit in hot water can make or break your breakfast. Here’s a quick guide:
- Soft yolk lovers: 7 minutes
- Middle-of-the-road yolks: 10 minutes
- Firm yolk fans: 12 minutes
Remember, these times might need tweaking if you’re cooking at high altitudes or using jumbo eggs. High-altitude dwellers, add a minute or two. Got extra-large eggs? Give them an extra 2-3 minutes.
The Ice Bath: More Than Just a Cool Down

Don’t skip the ice bath! It’s not just about stopping the cooking process. This chilly dip creates a rapid temperature change that causes the egg to contract inside its shell, making peeling a dream. Plus, it prevents that dreaded green ring around the yolk. Fourteen minutes in the ice bath is the magic number for easy-peel perfection.
Cutting-Edge Egg Innovations: Shake Things Up!
Think you know everything about hard-boiled eggs? Think again! Let’s explore some groundbreaking techniques that’ll revolutionize your egg game:

The Shake-and-Peel Method
Ever heard of peeling an egg without actually peeling it? Sounds like magic, right? Well, get ready to be amazed:
- After cooling your hard-boiled egg, gently crack the shell all over.
- Place the egg in a small container or jar with about an inch of water.
- Seal the container and shake vigorously for about 10-20 seconds.
- Open the container, and voila! The shell should slip right off, leaving you with a perfectly peeled egg.
This method works by letting water seep between the egg white and shell as you shake, making the peeling process a breeze. It’s especially handy when you’re dealing with stubborn fresh eggs.
The Sous Vide Sensation
If you’ve got a sous vide machine gathering dust, it’s time to put it to work for perfect eggs:
- Set your sous vide to 167°F (75°C).
- Gently lower your eggs into the water bath.
- Cook for 13 minutes for hard-boiled eggs with creamy, never-chalky yolks.
- Remove and place in an ice bath for 5 minutes.
The precise temperature control of sous vide cooking ensures consistently perfect eggs every time, eliminating the guesswork of traditional methods.
The Pressure Cooker Perfection
Got an Instant Pot or pressure cooker? You’re in for a treat:
- Place eggs on a trivet in your pressure cooker with 1 cup of water.
- Cook on high pressure for 5 minutes.
- Let the pressure release naturally for 5 minutes, then quick release.
- Transfer eggs to an ice bath.
This method is not only fast but also produces eggs that are incredibly easy to peel, even when using the freshest eggs from your backyard chickens.
Eco-Friendly Egg Hacks
Let’s take our egg game to the next level while being kind to the planet:
Eggshell Composting
Don’t toss those shells! Crushed eggshells make an excellent addition to your compost bin. They’re rich in calcium, which helps balance the pH of your compost and provides nutrients for your plants. Just be sure to rinse and crush them finely to speed up decomposition.
Natural Egg Dye
Skip the artificial food coloring and try these natural dyes for your Easter eggs or anytime you want colorful hard-boiled eggs:
- Red/Pink: Use beet juice or cranberry juice
- Yellow: Turmeric powder or chamomile tea
- Blue: Red cabbage leaves (yes, really!)
- Green: Spinach leaves or liquid chlorophyll
- Brown: Strong coffee or black tea
Simply add your chosen natural dye to the water when boiling your eggs. Not only is this method eco-friendly, but it also adds subtle, beautiful hues to your eggs without any artificial additives.
The Nutritional Goldmine: Maximizing Egg Benefits
While we’re innovating, let’s not forget about nutrition. Here’s how to get the most out of your hard-boiled eggs:
The 4-4-4 Method for Maximum Nutrition
This method aims to preserve the most nutrients while achieving the perfect texture:
- Bring water to a boil in a pot.
- Gently lower room-temperature eggs into the water.
- Boil for 4 minutes.
- Remove from heat, cover, and let sit for 4 minutes.
- Transfer to an ice bath for 4 minutes.
This quick-cooking method helps retain more of the heat-sensitive nutrients in the yolk, like vitamin B12 and choline, while still achieving a fully cooked egg.
Pairing for Power
Maximize the nutritional punch of your hard-boiled eggs by pairing them with these foods:
- Spinach: The iron in spinach is better absorbed when paired with the vitamin D in eggs.
- Tomatoes: Lycopene in tomatoes becomes more bioavailable when consumed with the fats in egg yolks.
- Whole grain toast: The protein in eggs complements the carbohydrates in whole grains for sustained energy.
By thoughtfully combining your hard-boiled eggs with these foods, you’re not just eating – you’re optimizing your nutrition.
Peel Like a Pro
Got your perfectly cooked eggs? Here’s how to peel them without losing half the white:
- Gently roll the egg on the counter to crack the shell all over.
- Start peeling from the wider end – there’s an air pocket there that gives you a head start.
- If you’re struggling, peel under cool running water. It helps separate the shell from the egg.
Store Smart, Eat Fresh
Unpeeled eggs can last up to a week in the fridge. Keep them in a covered container to prevent them from absorbing other food odors. Peeled eggs? Eat them within a couple of days for the best taste and texture.
Hard-boiled eggs aren’t just a breakfast staple – they’re a versatile ingredient that can elevate salads, make quick deviled eggs, or serve as a protein-packed snack. With these tips and tricks up your sleeve, from classic techniques to cutting-edge methods, you’re well on your way to becoming the egg master of your kitchen. So go ahead, get cracking, and enjoy your perfectly boiled eggs!
Remember, whether you’re sticking to the tried-and-true methods or experimenting with innovative techniques, the perfect hard-boiled egg is just a boil (or shake, or pressure cook) away. Happy cooking, and may your eggs always be egg-cellent!