Unleash Your Inner Grillmaster with These Charcoal Grill Cooking Tips
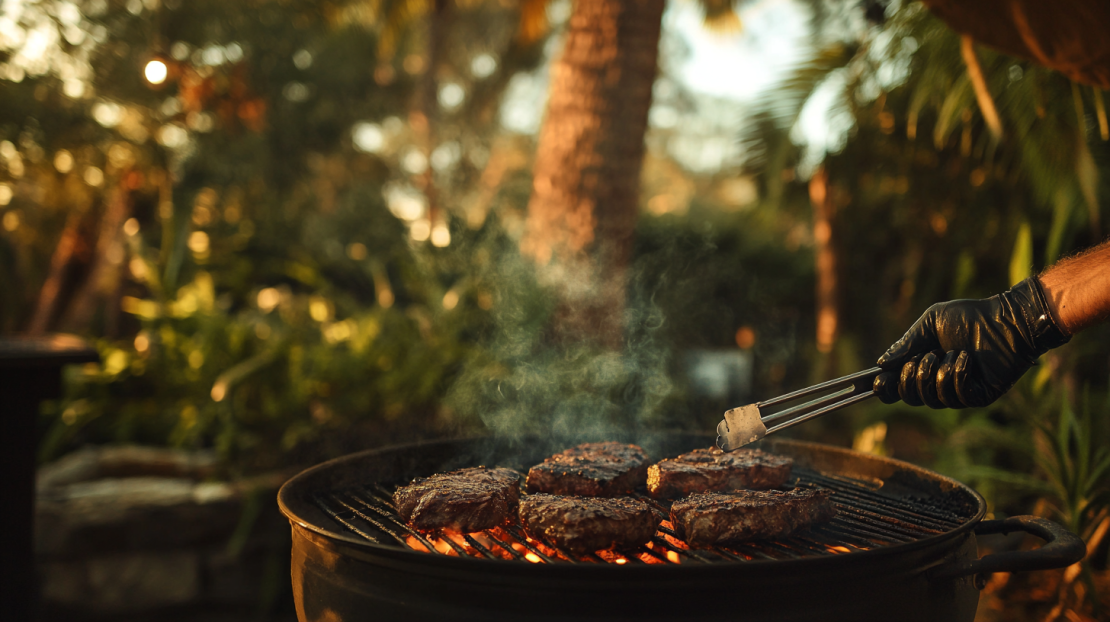
Ever stood in front of a charcoal grill, feeling lost and overwhelmed? We’ve all been there. The struggle is real – uneven heat, flare-ups, and dry, flavorless meat can turn your backyard BBQ into a disaster. But don’t worry, we’ve got your back! It’s time to transform from grill novice to neighborhood pitmaster with our ultimate guide to charcoal grill cooking tips.
- Unleash Your Inner Grillmaster with These Charcoal Grill Cooking Tips
- Why Charcoal Grilling Reigns Supreme
- Charcoal 101: Lump vs. Briquettes
- Essential Grilling Gear: Tool Up for Success
- The Art of Charcoal Grill Preparation
- Mastering Temperature Control
- Direct vs. Indirect Heat – Choose Your Weapon
- Smoke It Up: Adding Flavor with Wood
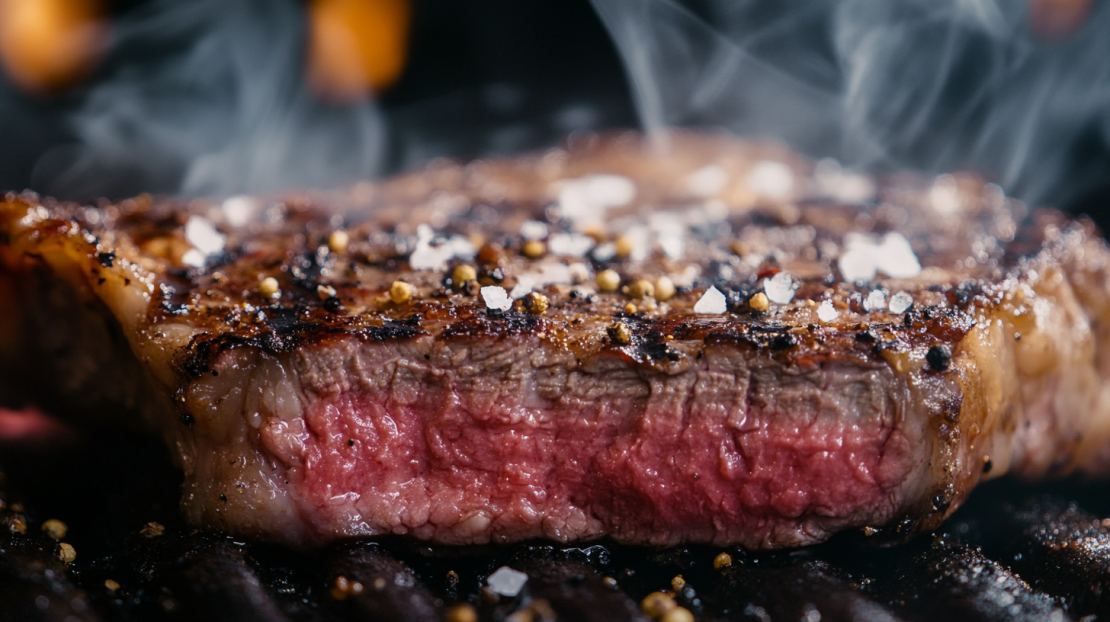
- The Perfect Charcoal-Grilled Steak
- Shutting Down – The Proper Way to End Your Grilling Session
- FAQs: Your Burning Questions Answered
Why Charcoal Grilling Reigns Supreme
Charcoal grilling isn’t just cooking; it’s an art form. The smoky flavor, the perfect sear, the primal connection to fire – there’s nothing quite like it. But why choose charcoal over gas?
- Unbeatable flavor: That smoky essence can’t be replicated
- Higher heat potential: For those picture-perfect grill marks
- Versatility: From low-and-slow to blazing hot, charcoal does it all
- Portability: No need for gas tanks on your camping trip
Charcoal 101: Lump vs. Briquettes
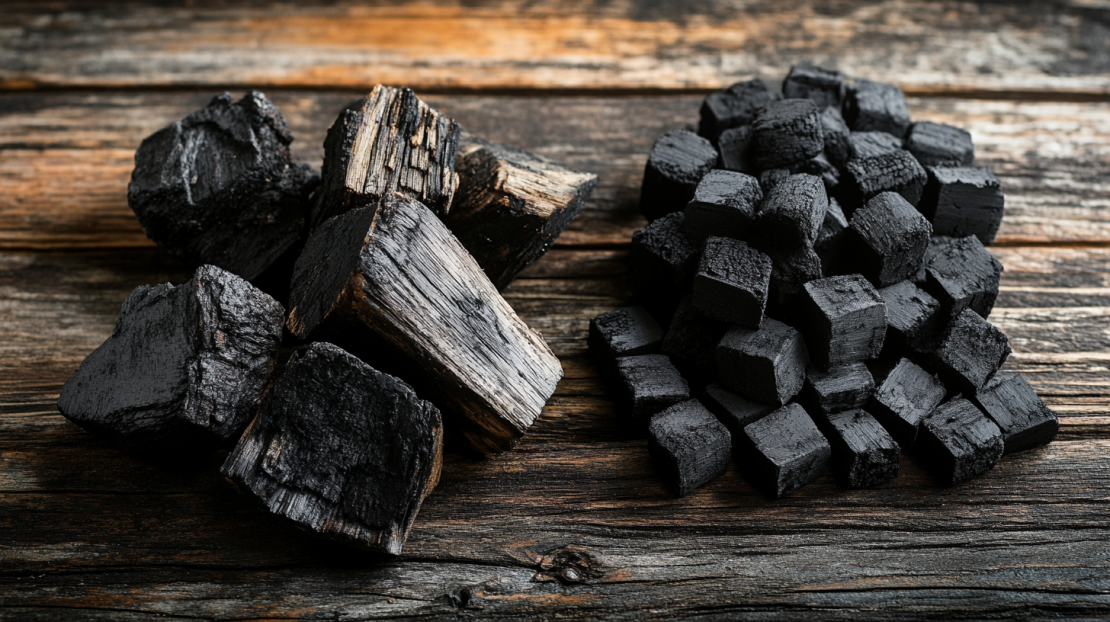
Before we fire up the grill, let’s talk fuel. You’ve got two main options: lump charcoal and briquettes. Each has its pros and cons:
Lump Charcoal:
- Made from pure wood
- Burns hotter and cleaner
- Lights faster
- Irregular shapes can lead to uneven burning
Briquettes:
- Uniform shape for consistent burning
- Longer-lasting heat
- Often contains additives
- May produce more ash
Pro tip: For the best of both worlds, mix lump charcoal with briquettes. You’ll get the high heat and flavor of lump with the steady burn of briquettes.
Essential Grilling Gear: Tool Up for Success
You wouldn’t go into battle without your armor, right? Same goes for grilling. Here’s what you need:
- Chimney starter (ditch that lighter fluid!)
- Long-handled tongs and spatula
- Heat-resistant gloves
- Grill brush for cleaning
- Instant-read thermometer
- Drip pan for indirect cooking
Invest in quality tools – they’ll make your grilling life so much easier.
The Art of Charcoal Grill Preparation
A clean grill is a happy grill. Here’s how to prep like a pro:
- Remove old ash from the bottom of the grill
- Scrub the grates with a wire brush
- Oil the grates to prevent sticking
- Light your charcoal in a chimney starter
- Arrange coals for direct or indirect cooking (more on that later)
Mastering Temperature Control
Temperature control is where the magic happens. It’s the difference between a perfectly cooked steak and a hockey puck. Here’s how to tame the flames:
- Use the vents: Top vent for exhaust, bottom vent for oxygen. More air = higher heat
- Create heat zones: Pile coals on one side for a hot zone, leave the other side empty for a cool zone
- Add or remove coals: Don’t be afraid to adjust mid-cook
- Use a grill thermometer: Guessing is for amateurs
Remember, low and slow is the way to go for larger cuts of meat. Patience is a virtue in grilling!
Direct vs. Indirect Heat – Choose Your Weapon
Direct heat is great for quick-cooking items like burgers and hot dogs. Indirect heat is your friend for larger cuts that need more time. Here’s a quick guide:
Direct Heat:
- Food placed directly over coals
- High heat for searing and fast cooking
- Best for: steaks, chops, vegetables
Indirect Heat:
- Food placed away from coals
- Lower, more even heat for thorough cooking
- Best for: whole chickens, ribs, roasts
Pro move: Use both methods for the perfect cook. Sear over direct heat, then finish with indirect for juicy, evenly cooked meat.
Smoke It Up: Adding Flavor with Wood
Want to take your grilling to the next level? Add some wood chunks or chips for extra smoky goodness. Here’s a quick flavor guide:
- Hickory: Strong, bacon-like flavor (great for pork)
- Mesquite: Intense, earthy flavor (use sparingly)
- Apple: Mild, sweet flavor (perfect for poultry)
- Oak: Medium, versatile flavor (good all-rounder)
Soak wood chips in water before use to prevent them from burning too quickly.
The Perfect Charcoal-Grilled Steak

Now, let’s put it all together with the ultimate charcoal-grilled steak:
Ingredients:
- 2 high-quality ribeye steaks (about 1.5 inches thick)
- Kosher salt
- Freshly ground black pepper
- Olive oil
- Oak wood chunks (optional)
Instructions:
- Take steaks out of the fridge 30 minutes before cooking
- Pat dry with paper towels
- Brush with olive oil, season generously with salt and pepper
- Light your charcoal in a chimney starter
- When coals are hot, arrange for two-zone cooking (hot side and cool side)
- Add oak chunks to the coals for extra flavor
- Sear steaks on hot side for 2-3 minutes per side
- Move to cool side, cover grill, and cook to desired doneness (use a thermometer!)
- Let rest for 5-10 minutes before slicing
Remember, don’t poke or prod your steak too much. Flip once, let it do its thing, and you’ll be rewarded with juicy, flavorful perfection.
Shutting Down – The Proper Way to End Your Grilling Session
When the feast is over, don’t just walk away. Proper shutdown ensures your grill stays in top shape:
- Close all vents to cut off oxygen
- Let the coals burn out completely
- Once cool, dispose of ashes safely
- Clean the grates while they’re still warm
- Cover your grill to protect it from the elements
FAQs: Your Burning Questions Answered
About 15-20 minutes after lighting in a chimney starter.
Partially burned coals can be reused. Just add fresh charcoal on top next time.
Trim excess fat, use a drip pan, and keep a spray bottle of water handy.
Use a chimney starter – it’s faster, safer, and doesn’t affect flavor.
Clean the grates after every use, deep clean every few months.
Yes, but use caution. Keep the lid closed as much as possible and be aware of wind.
Always use a meat thermometer for accuracy. Don’t rely on color alone.
With these tips in your grilling arsenal, you’re ready to become the undisputed charcoal grill master of your neighborhood. Remember, practice makes perfect, so fire up that grill and start cooking! Your taste buds (and impressed friends) will thank you.
Disclosure: This article uses automation for structure, but all insights and advice are provided by Ryan Yates, an experienced executive chef with over 20 years of expertise. Additionally, this post may contain affiliate links, which means we may earn a small commission if you purchase through them, at no extra cost to you. This helps support our work and allows us to keep providing high-quality content.


